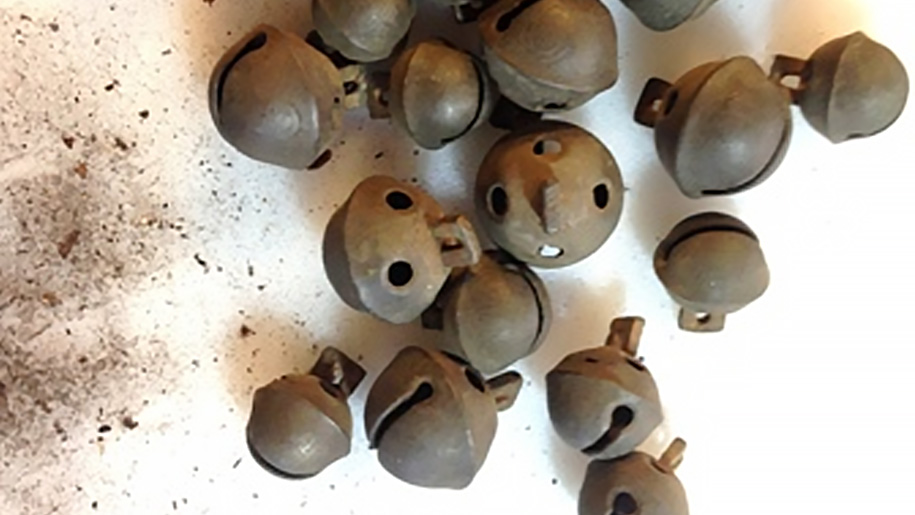
First, take pictures and measurements of the original piece, then carefully remove the bells from the strap. In this case, the leather just split when I pulled on the bell, no tools necessary.


Pliers and wire cutters were used to remove the old bell pins from the shank of each bell. Each bell was soaked, scrubbed and polished using soap, vinegar and Barkeeper’s Friend. The cleaning process is detailed in my previous blog post Brighten your Brass (tag: brass).

Two new straps were created, each 70″ in length made of 8-10oz dark brown bridle leather. The front strap (left) was punched with the slots and holes for the bells and rivets. The back strap (right) was grooved and punched for the buckle and stitching.

After finishing the edges of each strap by hand in a five step process with saddle soap, dye, parafin wax and resolene finish, the buckle and keeper were hand stitched to the back strap. A rivet was then driven into the strap end to mimic the original construction.

Next, the bells were placed on the front strap in order according to size. The smallest bells were at each end and the largest bells were in the middle of the strap. Each bell was then fastened to the strap by placing a brass wire bell pin through the bell shank, bending the pin with pliers to secure the bell.

The two straps are then positioned back to back and secured. One by one, a hole is puched and a double capped, antique brass rivet is driven between each bell using the setting tool and anvil.

A light coat of EVOO for the leather and a quick polish for the brass will keep this piece beautiful for years to come. Truly a pleasure to work on, the sound of the bells takes me back to the sleigh ride after our wedding in Vermont. Enjoy! ~AE


Leave a Reply